
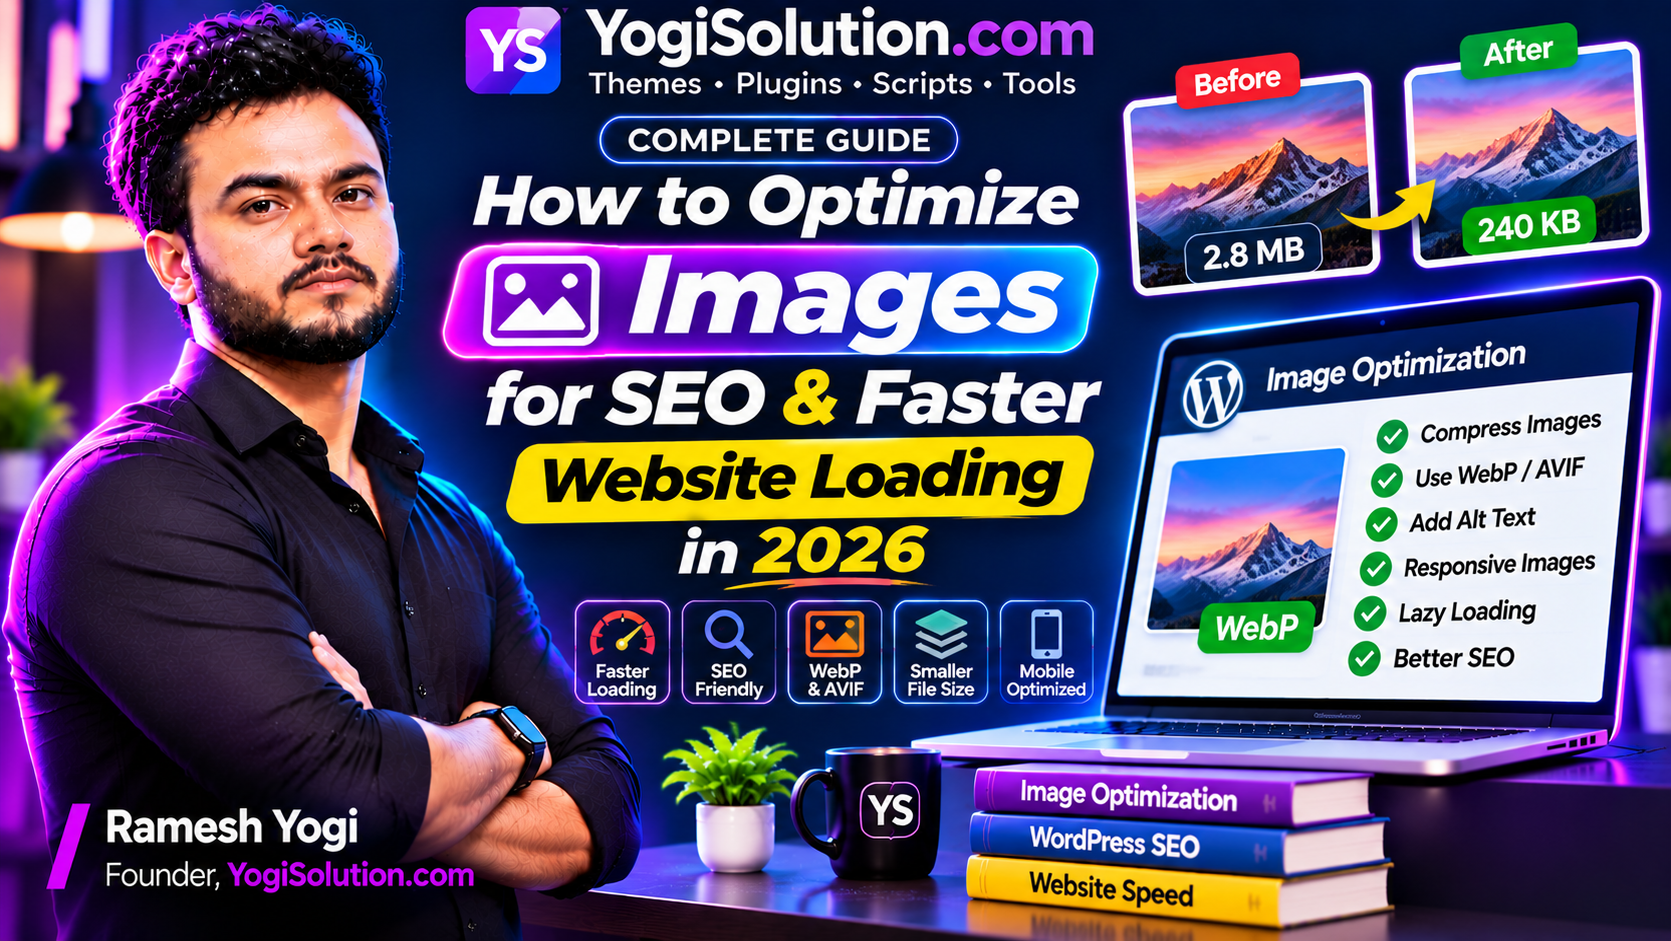
Images make websites more attractive, improve content presentation, and help visitors understand information quickly. However, unoptimized images can increase page size, slow down loading, and create a poor browsing experience, especially on mobile devices.
For bloggers, developers, and website owners, image optimization is an important part of both technical SEO and website performance.
The good news is that you do not need expensive software to optimize your images. By choosing the right image formats, compressing files, writing descriptive alt text, and implementing responsive image loading, you can make your website more efficient.
In this guide, we will explain how to optimize website images for SEO and faster loading in 2026.
1. Choose the Right Image Format
The first step is selecting the correct image format.
Different formats are suitable for different types of images.
| Format | Best Use |
|---|---|
| JPEG / JPG | Photographs and complex images |
| PNG | Graphics requiring lossless quality or transparency |
| WebP | Optimized photographs and website graphics |
| AVIF | Highly compressed photographs and graphics |
| SVG | Logos, icons, and vector illustrations |
| GIF | Simple animations |
WebP
WebP is a popular modern image format that can provide smaller file sizes than traditional JPEG and PNG images while maintaining good visual quality.
AVIF
AVIF can offer even more efficient compression for some images. It is useful when your image workflow and target browsers support it.
PNG
PNG is useful when transparency or lossless image quality is important, but it may produce larger files for photographs.
For most modern blogs, WebP is a practical default. You can also offer AVIF with WebP or another suitable fallback.
2. Compress Images Before Uploading
Image compression reduces file size so visitors do not have to download unnecessarily large files.
For example, a 2 MB image may be reduced to a few hundred kilobytes while retaining acceptable visual quality. The actual reduction depends on the image, format, dimensions, and compression settings.
You can use tools such as:
- TinyPNG
- Squoosh
- ShortPixel
- Imagify
- EWWW Image Optimizer
When compressing images, consider:
- Select the appropriate output format.
- Adjust compression quality.
- Compare the original and optimized images.
- Check that text and important details remain clear.
- Save the optimized file.
Do not reduce image quality so much that photographs become blurry or text becomes difficult to read.
Tool links:
3. Resize Images to the Correct Dimensions
Uploading a very large image and displaying it in a small content area wastes bandwidth.
For example, if your article content area is approximately 800 pixels wide, uploading a 4000-pixel-wide image may be unnecessary.
Prepare images according to their intended display size.
Example image dimensions:
| Image Type | Example Dimensions |
|---|---|
| Featured image | 1200 × 675 px |
| Blog thumbnail | 600 × 400 px |
| Article image | 1000 × 667 px |
| Small icon | 64 × 64 px |
| Square social image | 1080 × 1080 px |
These are practical examples, not mandatory SEO dimensions.
WordPress can automatically generate different image sizes when you upload an image. Use those generated sizes where appropriate.
4. Write Descriptive Image File Names
Image file names can provide search engines with additional context about an image.
Avoid generic names such as:
- IMG001.jpg
- image123.png
- screenshot-final.jpg
Use descriptive names that explain what the image contains.
For example:
Bad filename:
IMG_20261104_001.jpgBetter filename:
wordpress-image-optimization-guide.webpKeep filenames short, relevant, and readable. Do not stuff them with repeated keywords.
If your website contains thousands of images, you can automate file naming through your upload workflow.
5. Add Proper Alt Text to Every Important Image
Alt text describes an image for visitors who cannot see it, including people using screen readers.
It also helps search engines understand the subject of an image.
For example:
<img
  src="/images/wordpress-speed-guide.webp"
  alt="WordPress website speed optimization dashboard"
>
Good alt text should be:
- Descriptive.
- Relevant to the image.
- Natural and easy to understand.
- Concise without unnecessary keywords.
Avoid writing alt text like this:
alt="SEO image optimization SEO image SEO tools best SEO image"This is keyword stuffing and does not help visitors.
For decorative images that add no meaningful information, an empty alt attribute is usually appropriate:
<img src="/images/decorative-shape.webp" alt="">Google recommends descriptive alt text because it supports both image understanding and accessibility.
6. Implement Responsive Images
Different devices have different screen sizes and display requirements.
A desktop visitor may have a large screen, while a mobile visitor may only need a smaller image.
Responsive images allow browsers to choose a suitable image source based on the available display space.
You can use the srcset and sizes attributes:
<img
  src="blog-image-800.webp"
  srcset="
    blog-image-400.webp 400w,
    blog-image-800.webp 800w,
    blog-image-1200.webp 1200w
  "
  sizes="(max-width: 600px) 100vw, 800px"
  width="1200"
  height="675"
  alt="Website image optimization example"
>
This gives the browser multiple image options.
Responsive image delivery can reduce unnecessary downloads on smaller devices.
WordPress also supports responsive images automatically when suitable image sizes are available.
7. Use Lazy Loading for Images Below the Fold
Lazy loading delays the loading of images until visitors approach them while scrolling.
This can reduce the number of images downloaded during the initial page load.
For example:
<img
  src="/images/article-example.webp"
  loading="lazy"
  width="800"
  height="450"
  alt="Example of image optimization"
>
This technique is particularly useful for:
- Images further down an article.
- Related post thumbnails.
- Long image galleries.
- Images below the initial viewport.
Important: Do not lazy-load the main image that is responsible for the page’s Largest Contentful Paint (LCP), especially if it is visible immediately when the page opens. That can delay its loading.
8. Prioritize the Main Featured Image
Your featured image may be the largest visible image when an article loads.
If it is responsible for LCP, delaying it can negatively affect loading performance.
For an important above-the-fold image, you can use:
<img
  src="/images/featured-image.webp"
  width="1200"
  height="675"
  alt="Website image optimization guide"
  fetchpriority="high"
>
The fetchpriority="high" attribute gives the browser a hint that this image is important.
Use it selectively. Do not assign high priority to every image on the page.
For a main image loaded through a CSS background or another delayed mechanism, consider whether preloading is appropriate.
9. Specify Image Width and Height
Images without reserved dimensions can cause content to move when they load.
This movement is known as Cumulative Layout Shift (CLS).
To reduce unexpected layout shifts, specify image dimensions:
<img
  src="/images/website-speed.webp"
  width="1200"
  height="675"
  alt="Website speed optimization"
>
You can also reserve space using CSS:
.article-image {
    width: 100%;
    height: auto;
    aspect-ratio: 16 / 9;
    object-fit: cover;
}
This helps the browser calculate the image’s space before it finishes downloading.
10. Create an Image Optimization Workflow in WordPress
If you publish articles regularly, optimizing images manually every time can become repetitive.
A consistent workflow can save time.
Here is a practical process:
Step 1: Prepare the image
Create or select the image needed for your article.
Step 2: Resize it
Choose dimensions appropriate for the featured image or article content.
Step 3: Compress it
Use a suitable image compressor to reduce file size.
Step 4: Convert it
Use WebP or AVIF when appropriate.
Step 5: Rename it
Use a short, descriptive file name.
Step 6: Upload it to WordPress
Add the image to your media library.
Step 7: Add alt text
Write a natural description of the image.
Step 8: Check the final page
Open the published article on mobile and desktop and verify that images load correctly.
You can automate several of these steps using a WordPress image optimization plugin.
11. Use an Image CDN for Larger Websites
If your website receives visitors from multiple countries, delivering images from a single server may not always provide the best performance.
An image CDN can distribute image files through a network of locations.
Depending on the provider and configuration, image CDN features may include:
- Image compression.
- Automatic format selection.
- Responsive resizing.
- Browser caching.
- Global content delivery.
Cloudflare and dedicated image optimization services offer different approaches to image delivery.
A CDN is especially worth considering for websites with large image libraries or international audiences.
However, verify that your CDN configuration preserves correct image URLs and does not interfere with search engine crawling.
12. Avoid Common Image SEO Mistakes
Even well-designed websites can have image optimization problems.
Avoid these common mistakes:
- Uploading original high-resolution images without resizing.
- Using large PNG files for ordinary photographs.
- Forgetting descriptive alt text.
- Repeating the same keywords in every image description.
- Lazy-loading the main visible LCP image.
- Using images without specified dimensions.
- Displaying desktop-sized images on small mobile screens unnecessarily.
- Using blurry images after excessive compression.
- Hiding important content images only in CSS backgrounds.
- Forgetting to test images after changing CDN or caching settings.
A good image optimization strategy balances visual quality, accessibility, discoverability, and loading performance.
13. Image Optimization Checklist
Use this checklist before publishing an article:
- Choose an appropriate image format.
- Resize images to suitable dimensions.
- Compress images without excessive quality loss.
- Use descriptive file names.
- Add meaningful alt text.
- Use responsive image sources.
- Enable lazy loading for below-the-fold images.
- Do not lazy-load the main LCP image.
- Specify image width and height.
- Test image loading on mobile devices.
- Check page performance after publishing.
Frequently Asked Questions
1. Which image format is best for website SEO?
WebP is a practical choice for many websites because it offers good compression and broad browser support. AVIF is another efficient option when your workflow supports it. SEO does not depend on using one particular image format.
2. Does image compression improve website speed?
Yes. Smaller image files generally require less data to download, which can improve loading performance, especially on mobile connections.
3. Does alt text help image SEO?
Yes. Descriptive alt text helps search engines understand image content and improves accessibility for visitors using assistive technologies.
4. Should I lazy-load all website images?
No. Lazy loading is useful for images below the initial viewport, but the main visible LCP image should generally load without lazy-loading delays.
5. What is the best image size for WordPress blog posts?
There is no universal size. A featured image of 1200 × 675 pixels is a practical example for many blog layouts, but actual dimensions should match your theme and design.
6. Can image optimization improve Google rankings?
Image optimization can improve performance, accessibility, and image discoverability. These improvements may support a better overall website experience, but they do not guarantee higher rankings.
7. Which free tools can compress website images?
Squoosh and TinyPNG are useful browser-based options. WordPress users can also consider image optimization plugins such as ShortPixel, Imagify, and EWWW Image Optimizer.
Conclusion
Image optimization is an important part of building a fast, accessible, and search-friendly website.
By using modern formats, compressing images, selecting suitable dimensions, writing descriptive alt text, and implementing responsive loading, you can improve how images are delivered to visitors.
Start with your largest images and most important pages. Measure the results, make improvements gradually, and maintain a consistent image optimization workflow.
A website with optimized images can provide a better browsing experience while creating a stronger technical foundation for SEO and long-term growth.